In this tutorial I will be teaching you how to make a basic scatter effect in PhotoShop. We will be creating our own brush to scatter the image in various directions.
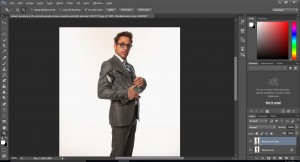
I will be using this image of Robert Downey Jr to demonstrate this effect.
Creating the Scatter Brush:
First, create a new canvas with the dimensions of 10 x 10 pixels. Fill it with Black and click on Edit > Define Brush Preset. Name it whatever you want and click Save. This is the brush we will be using.
Setting up the Subject
Now, back to RDJ. Flip the image so that he faces the opposite direction and copy the whole layer. Then create a new layer and paste the contents which you just copied.
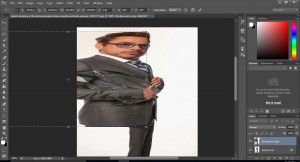
In the new layer, Select parts of him that you want to scatter and transform it to cover the whole of the image. Ctrl + T is the shortcut to Transform your selection.
Add a layer mask to this layer and fill it with black. The whole layer should be invisible now. Select the brush tool and go to the new brush preset which we created. (Right click with the brush tool to look at a list of brush presets)
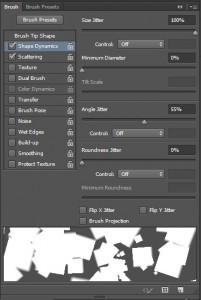
Go to Brush Options and enable Shape Dynamics and Scattering. Play around with the setting until you are satisfied.
Scattering the Subject:
Now change the Foreground Color to White and paint the places where you want to scatter the image.
Erase the places where you’ve gone wrong with a normal brush and Black Foreground color.
And the finished product:
Add a layer mask to the original layer as well and with the Foreground Color as Black paint a little inside the subject to give the illusion of the particles having been broken off of the subject.


